520 838 0346
 sales@zinatt.com
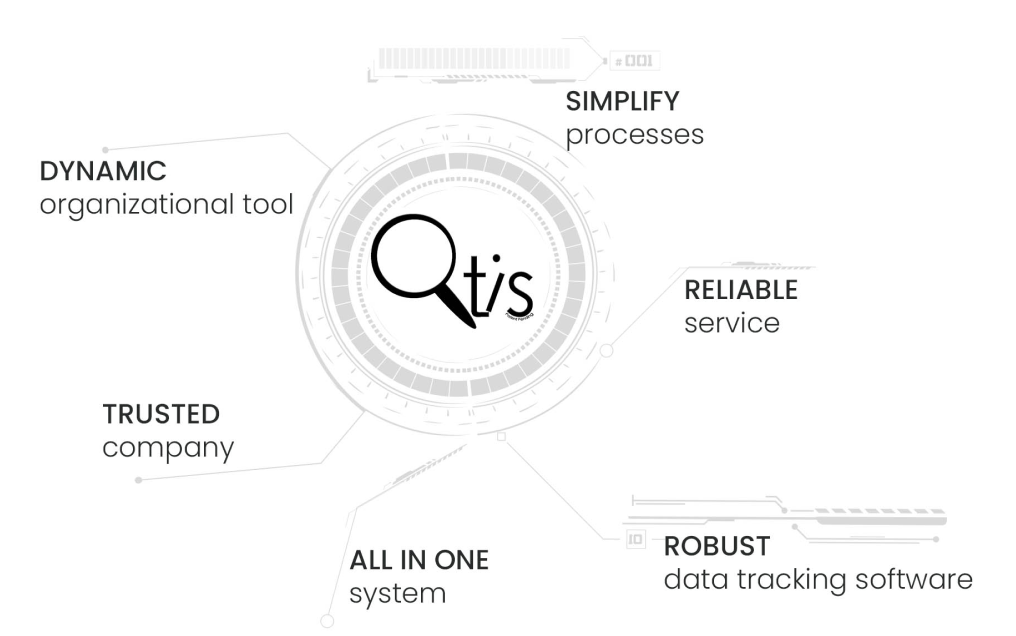


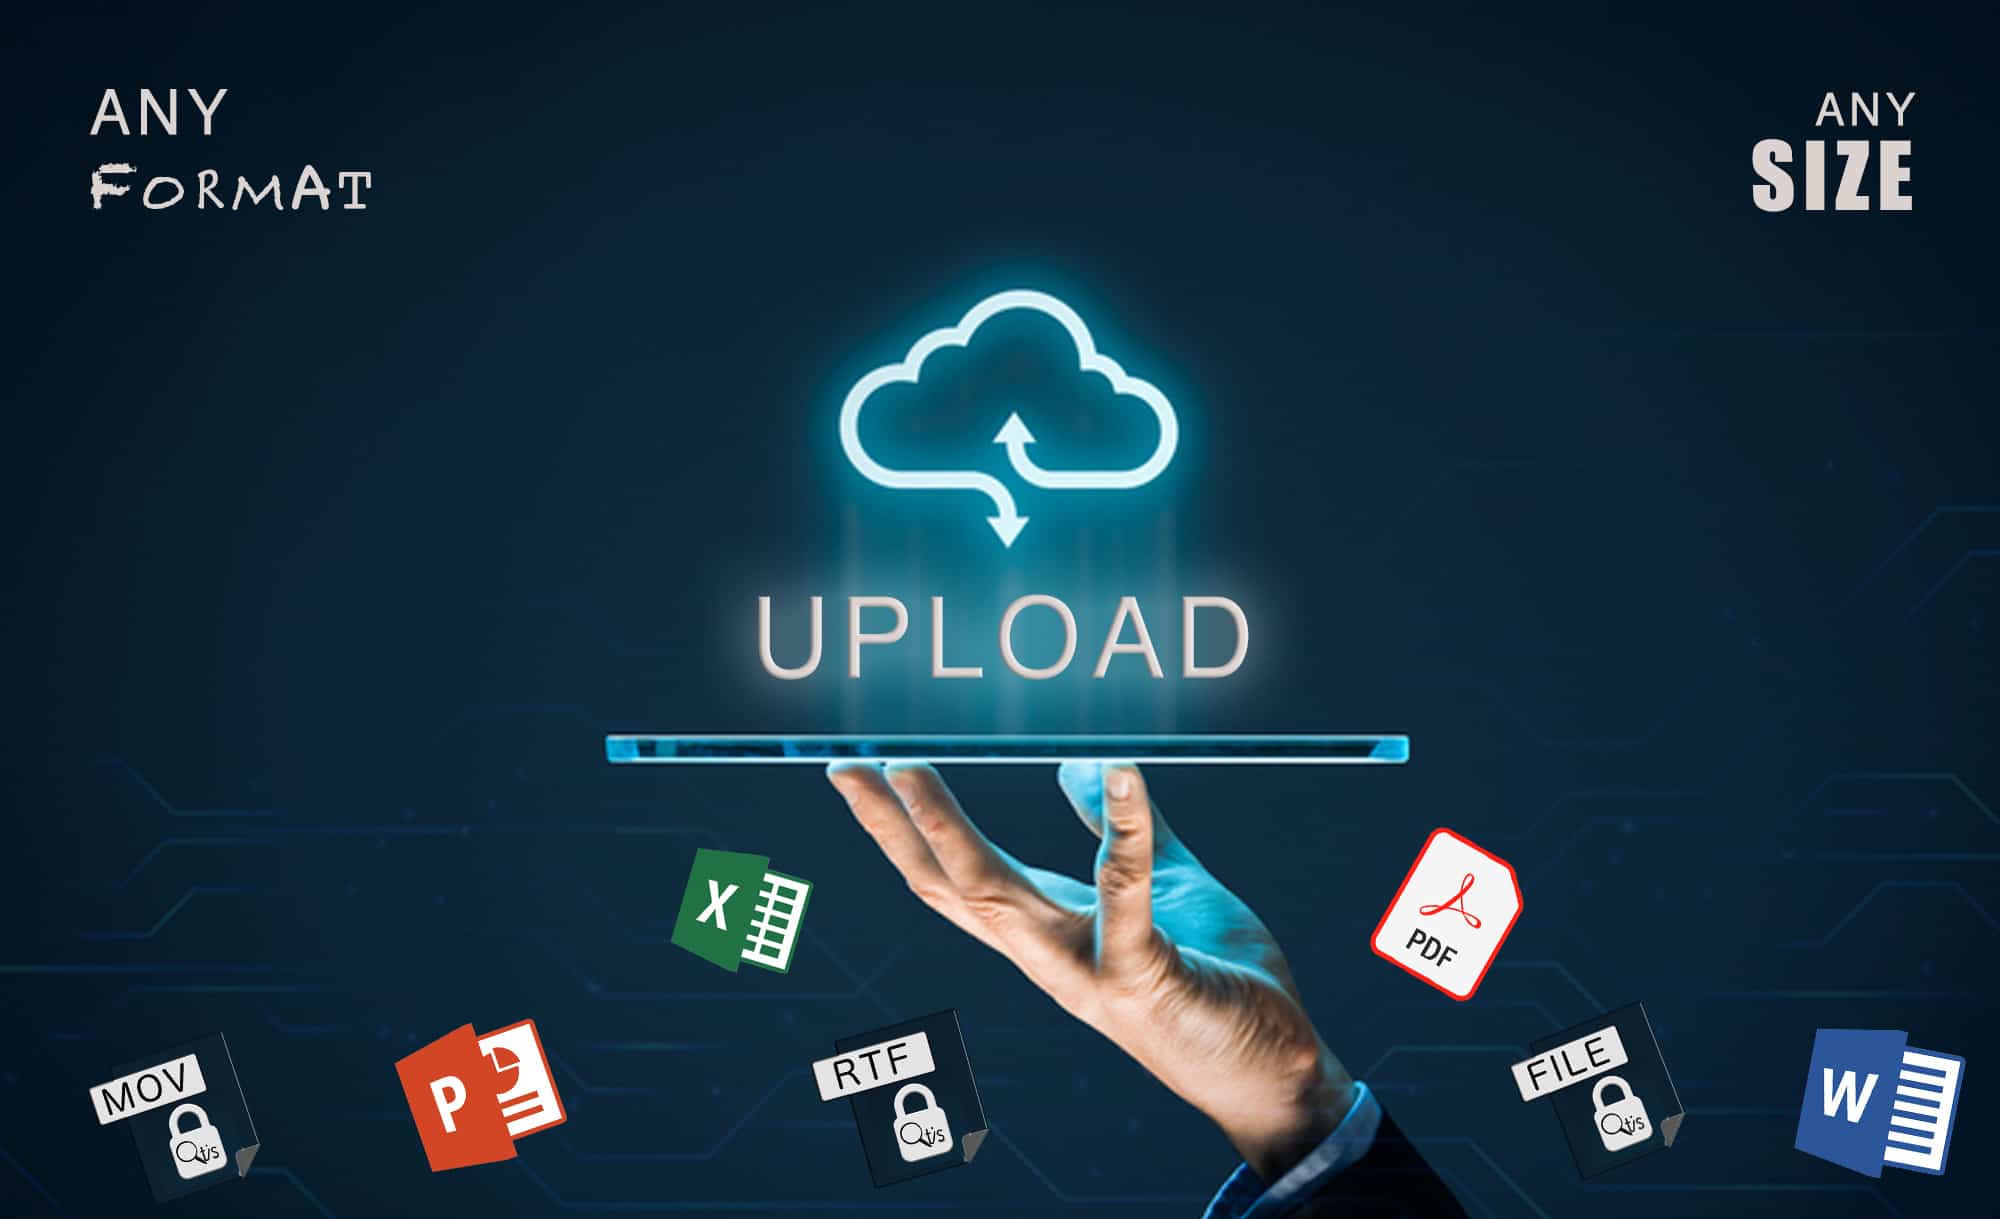
Upload
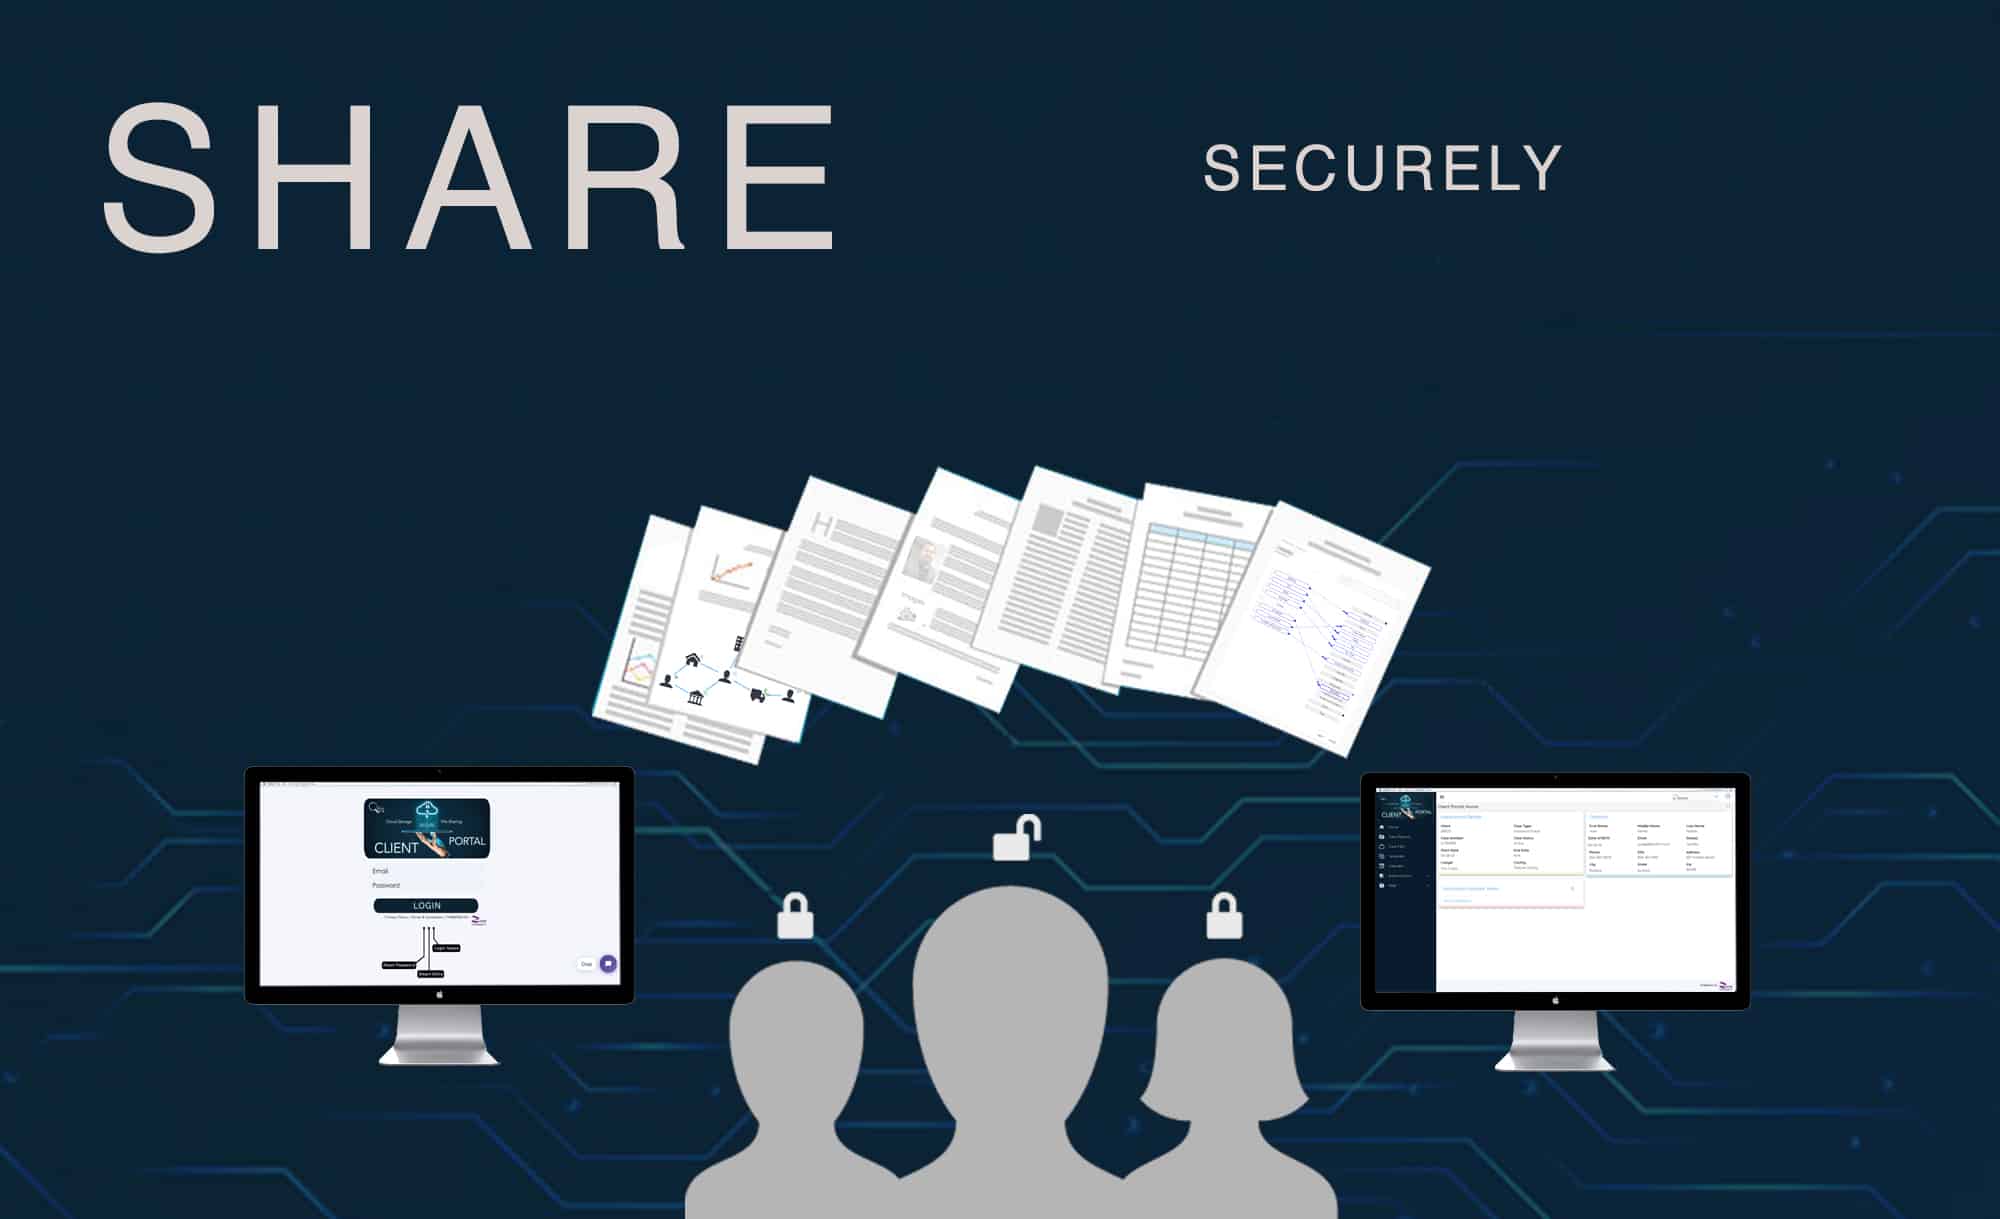
Share
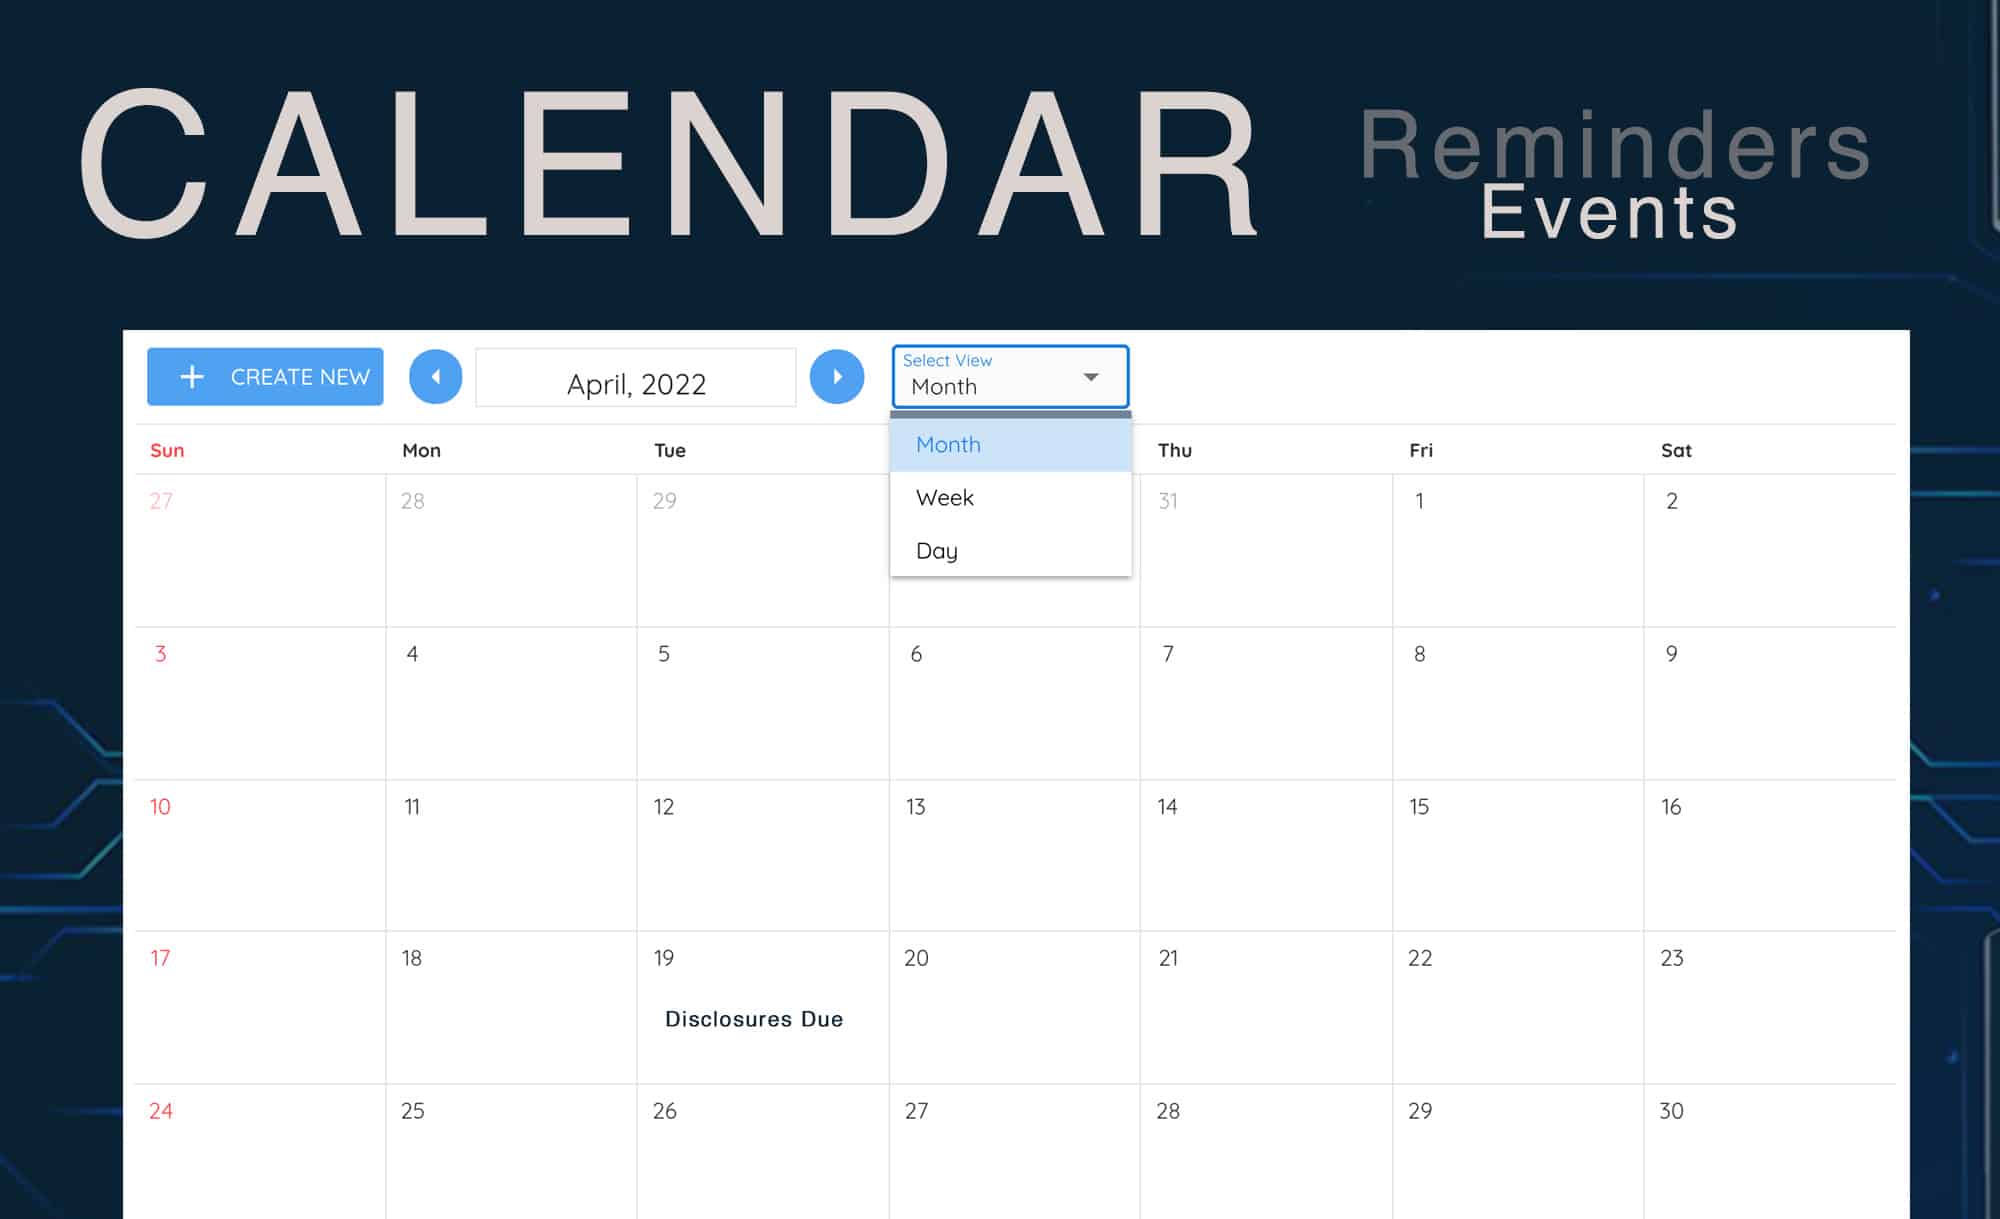
Calendar
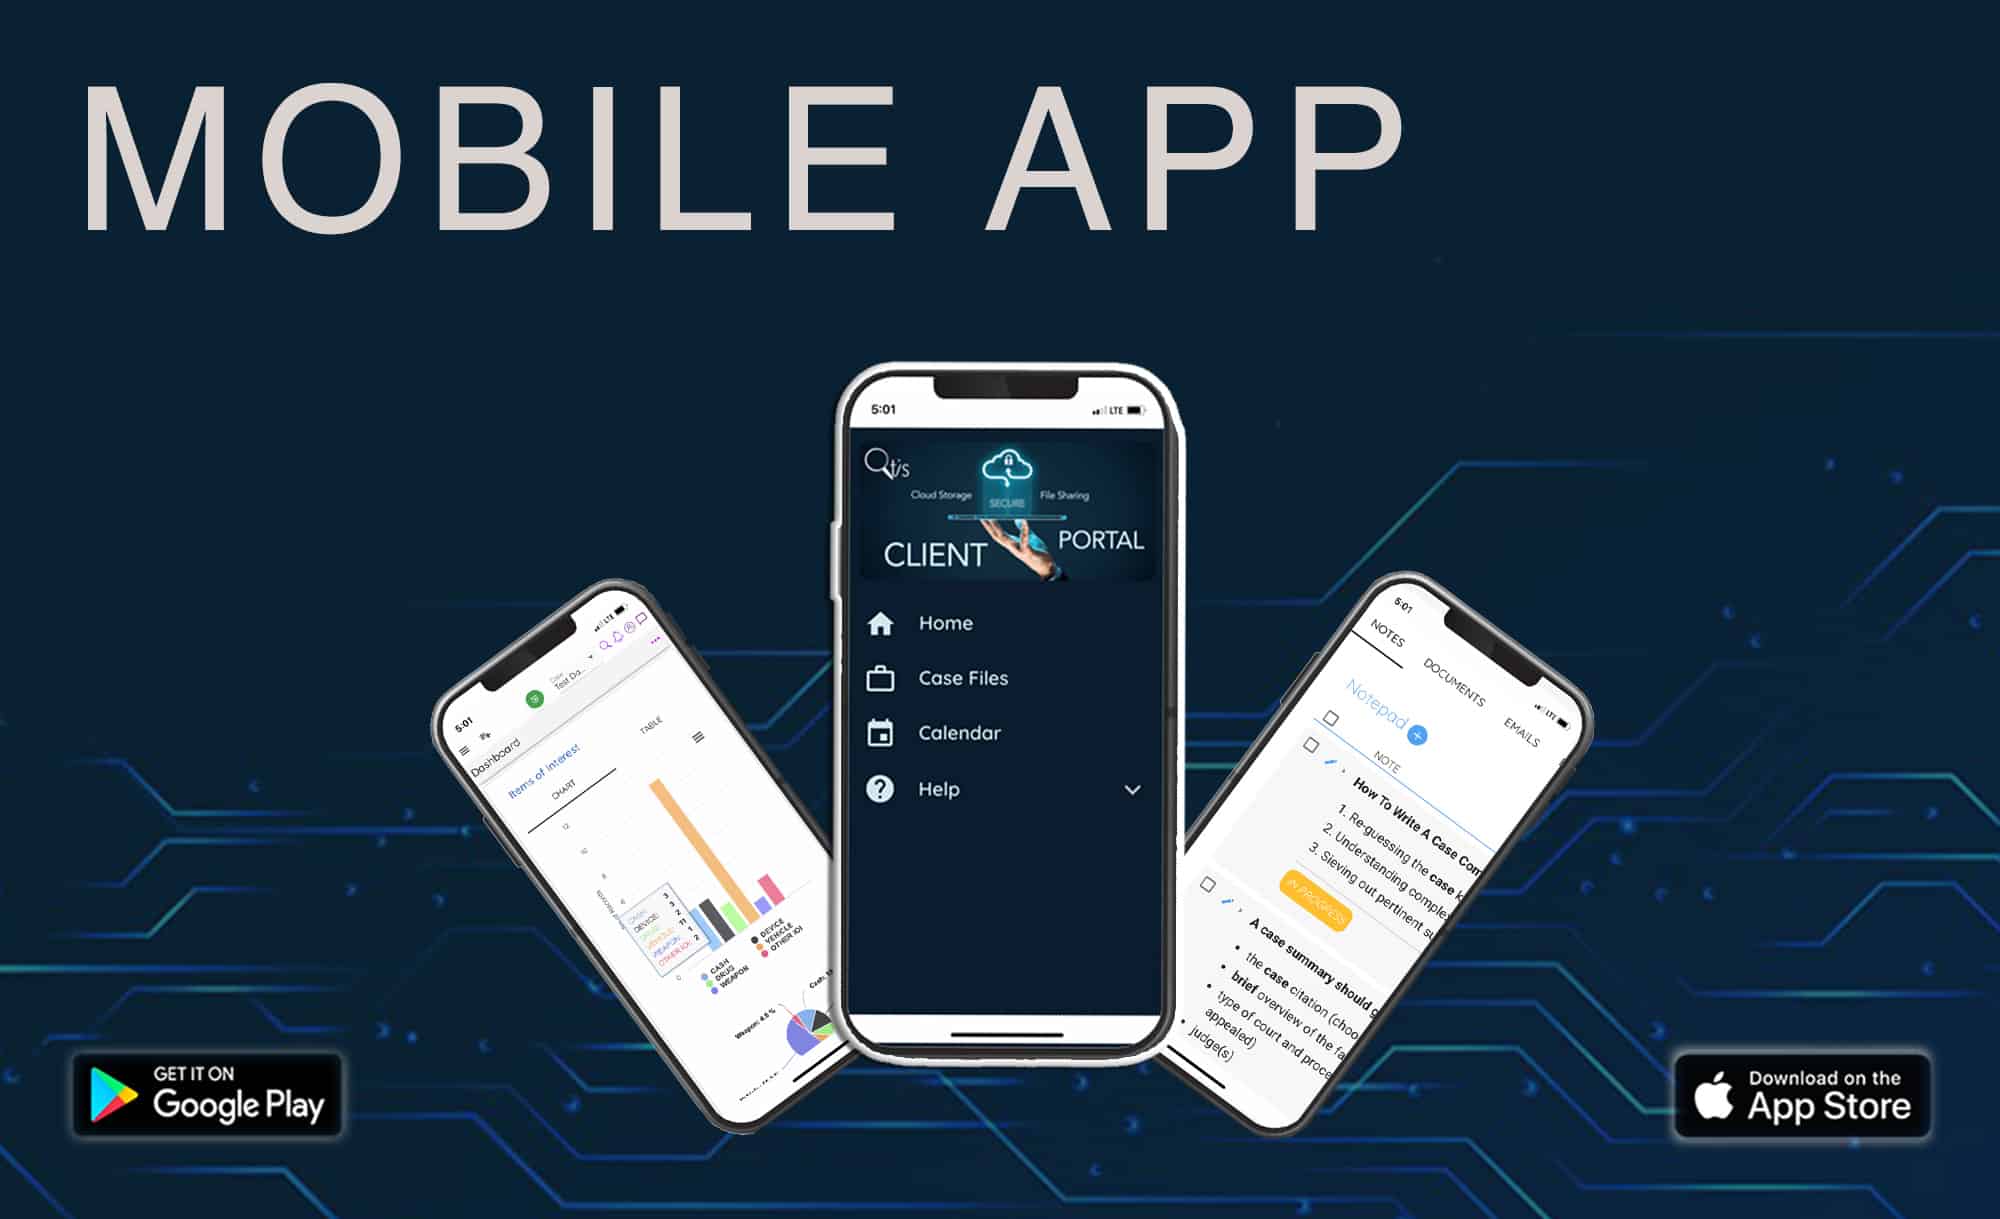
Mobile App
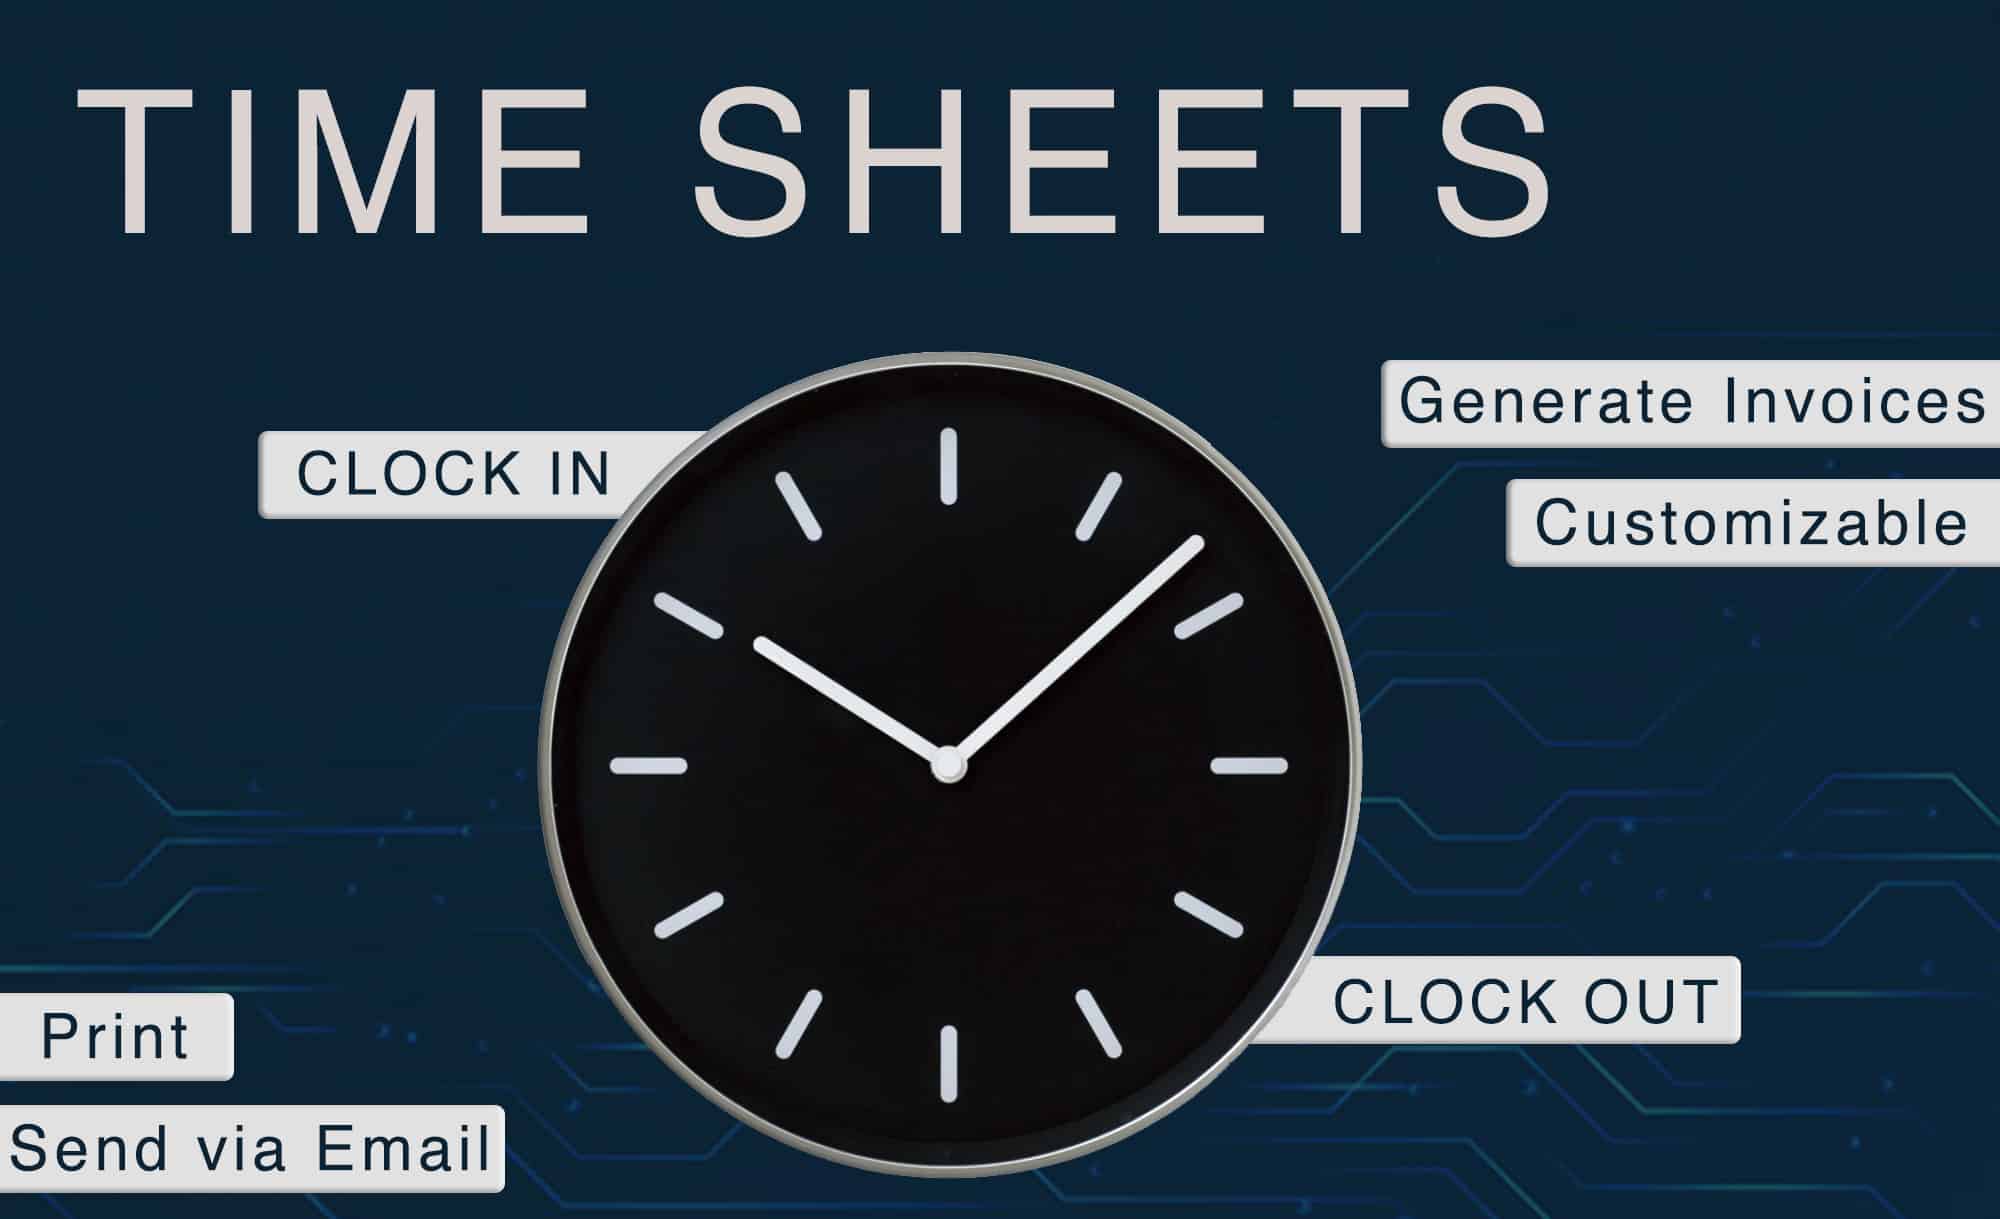
Timesheets
Upload
Share
Calendar
Mobile App
Timesheets
per MONTH
$
19.99
USD
-
1 concurrent user
-
1TB Cloud Storage
per MONTH
$
57.00
USD
-
3 concurrent user
-
3TB Cloud Storage
per MONTH
$
85.00
USD
-
5 concurrent user
-
5TB Cloud Storage
per MONTH
$
150.00
USD
-
10 concurrent user
-
Unlimited Cloud Storage
per MONTH
$
16.99
USD
-
1 concurrent user
-
1TB Cloud Storage
per MONTH
$
48.45
USD
-
3 concurrent user
-
3TB Cloud Storage
per MONTH
$
72.25
USD
-
5 concurrent user
-
5TB Cloud Storage
per MONTH
$
127.50
USD
-
10 concurrent user
-
Unlimited Cloud Storage
Qtis Features


We Customize

We don’t expect you to mold your business to our software. We adapt to the way you do business.
Dashboard Analytics
Sometimes a picture is worth a thousand words. Create full analyses of your data from your dashboard.


Concurrent User Pricing
You don’t pay per seat or user. You pay for how many users you want logged in at the same time.
System Wide Audit Trail
Be in the know of what all your users are doing at all times.

Role Based Security
Create as many roles as you need for your organization. Allow your users to view, edit and delete data based on their role.


2 Step Authentication Security
Security is important to us and it should be for you too! Access should be limited to only verified users.


Internal Shared Calendar
Keeping your entire work force up to speed with critical events is crucial to any organization. Monthly, weekly and daily views are available.

Flexible Work Space
You deserve to view your data in a way that is convenient to you. There are four different layout options to view your data.


Upload Video, Audio and Photos
Uploading audio files, video files and images is easy because we support ALL file formats.

Secure Cloud Hosting
Hosting your data is now easier than ever. We offer AWS Government Cloud, IBM Cloud, and Azure Government Cloud.

Time Sheets
Users can clock in and clock out during their shifts. Users can also track expenses and billable services while on shift. Time sheets make it easy to pay your work force.

Client Billing
Billing clients is now available in Qtis Premium. Track services, expenses, mileage and your time all from within your app.
Qtis Features
We Customize
We don’t expect you to mold your business to our software. We adapt to the way you do business.
Dashboard Analytics
Sometimes a picture is worth a thousand words. Create full analyses of your data from your dashboard.
Concurrent User Pricing
You don’t pay per seat or user. You pay for how many users you want logged in at the same time.
System Wide Audit Trail
Be in the know of what all your users are doing at all times.
Role Based Security
Create as many roles as you need for your organization. Allow your users to view, edit and delete data based on their role.
2 Step Authentication Security
Security is important to us and it should be for you too! Access should be limited to only verified users.
Internal Shared Calendar
Keeping your entire work force up to speed with critical events is crucial to any organization. Monthly, weekly and daily views are available.
Flexible Work Space
You deserve to view your data in a way that is convenient to you. There are four different layout options to view your data.
Upload Video, Audio and Photos
Uploading audio files, video files and images is easy because we support ALL file formats.
Secure Cloud Hosting
Hosting your data is now easier than ever. We offer AWS Government Cloud, IBM Cloud, and Azure Government Cloud.
Time Sheets
Users can clock in and clock out during their shifts. Users can also track expenses and billable services while on shift. Time sheets make it easy to pay your work force.
Client Billing
Billing clients is now available in Qtis Premium. Track services, expenses, mileage and your time all from within your app.
" Qtis, and Gabriel have went above and beyond the standard of business to establish a custom portal for our specific needs. It is exactly what we need with our private investigation agency, and turned hours of working and emails into minutes of streamlined storage. "